 Menu
Menu Search


by Amelia Pilsch
In an early Master Gardener class, when the topic was preparing soil for planting, a member asked the speaker about “lasagna gardening.” Now, I had never heard this term before, and it felt a little sketchy when the speaker appeared to brush over the question. I asked my seat mate about it, trying not to disrupt the class, and later, “googled” it to learn more.
Preparing a new garden bed using the lasagna method refers to building a garden by adding layers of organic materials that will “cook down” over time, resulting in rich soil that will help your plants thrive. Also called sheet composting, you don’t have to dig at all, you simply layer your materials directly on top of the ground where you’ve planned your new garden, even on top of the grass!
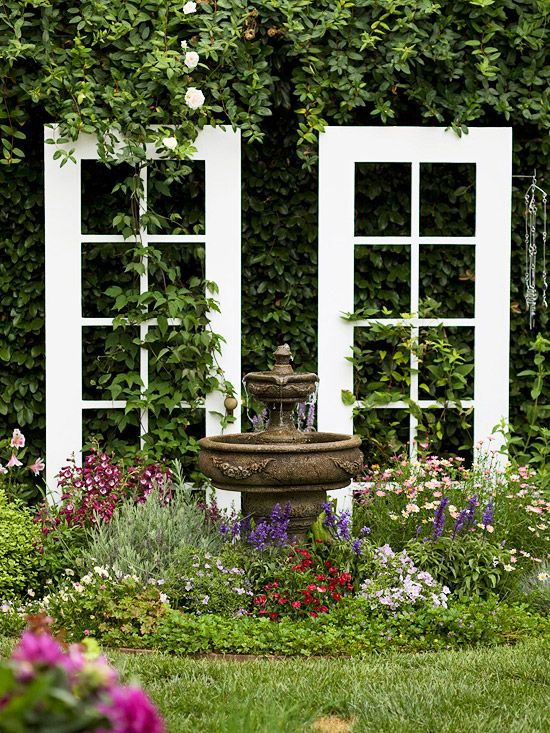
Being a single, teacher person, and getting a little long in the tooth, I thought my days of creating a new garden space were over. Honestly, cutting the grass has even become a chore, but I still prefer that chore over the alternate, indoor kind. The idea of creating a new bed without the hours of back breaking labor seemed very appealing to me. Plus, I already had a space in mind and, I’d been saving an inspiration picture…don’t judge me. I decided to give it a try.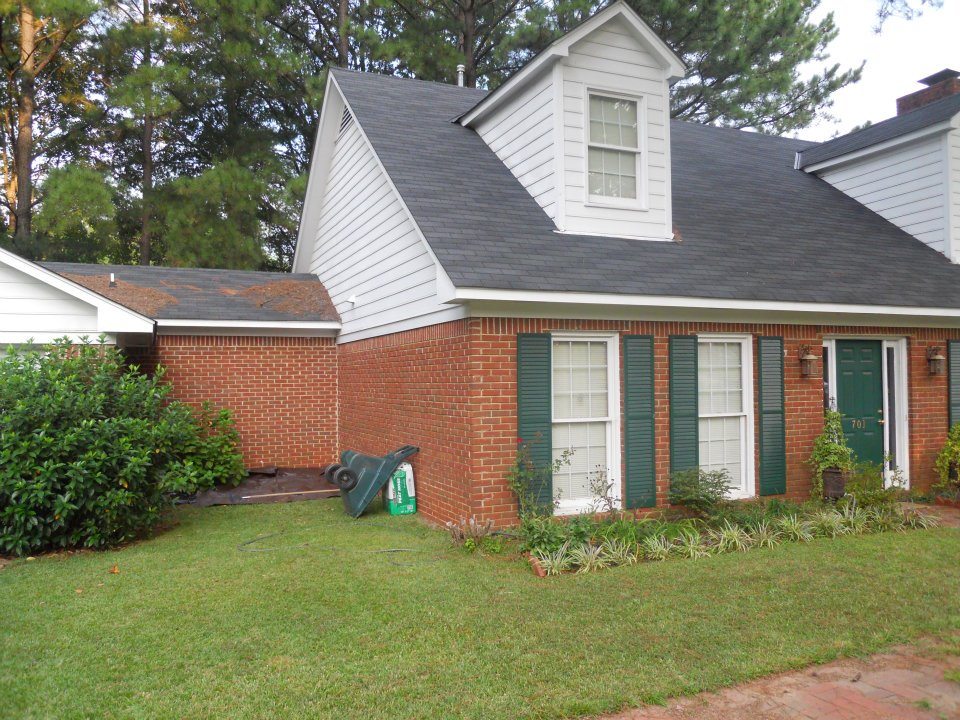
The garage connects to my house by a mudroom, creating a very, small courtyard area. Half of the space gets afternoon shade, the other half, full sun all day long. The soil was hard, red clay covered with Bermuda grass.
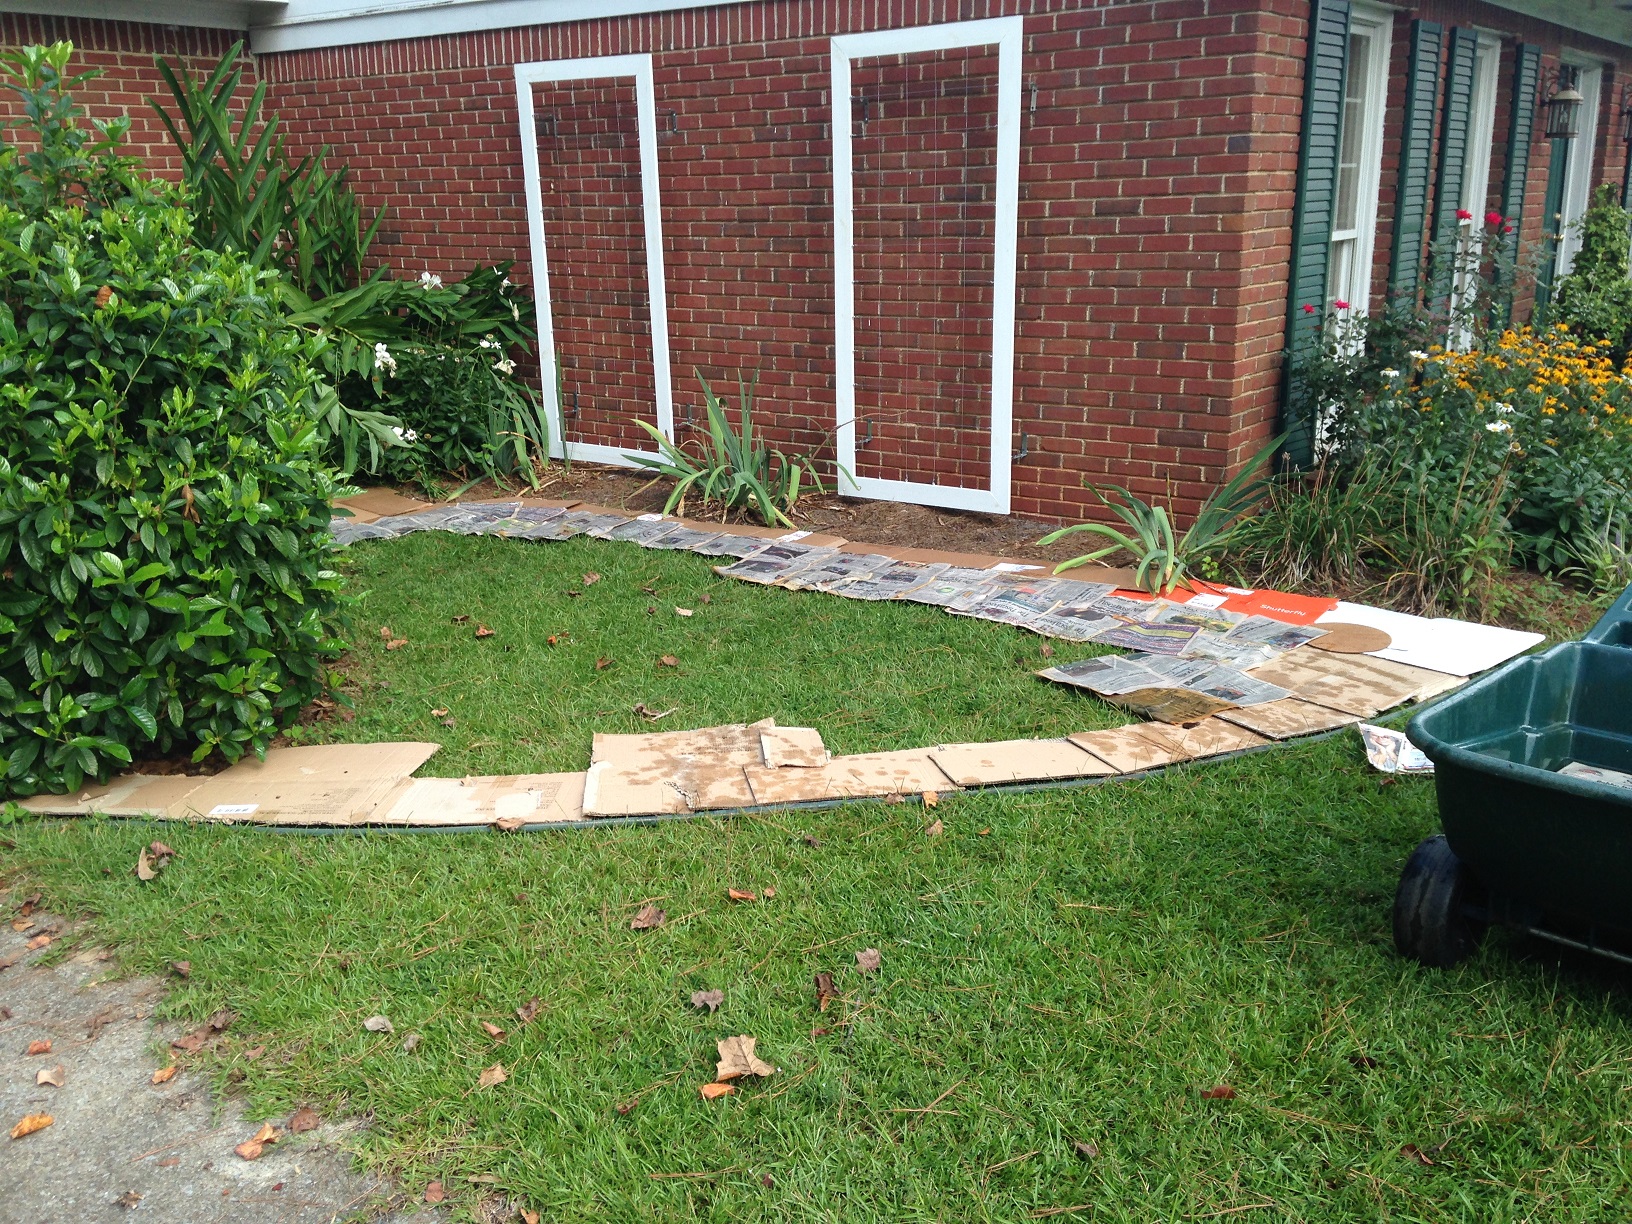 I started my garden in the fall after a friend built the trellises along the wall. I used my garden hose to outline the new space, then covered the entire area in cardboard and newspaper. Here’s a tip; I filled my garden cart with water and soaked the newspaper to keep it from blowing around before I added another layer.
The paper and cardboard are an invitation to earthworms, they love paper and are vital for good soil. Earthworms aerate the soil as they move by burrowing small holes. They process organic matter in their bodies and return vital compounds to the soil, increasing the nutrients available to plants.
The second layer that I added was peat moss. I have learned that using 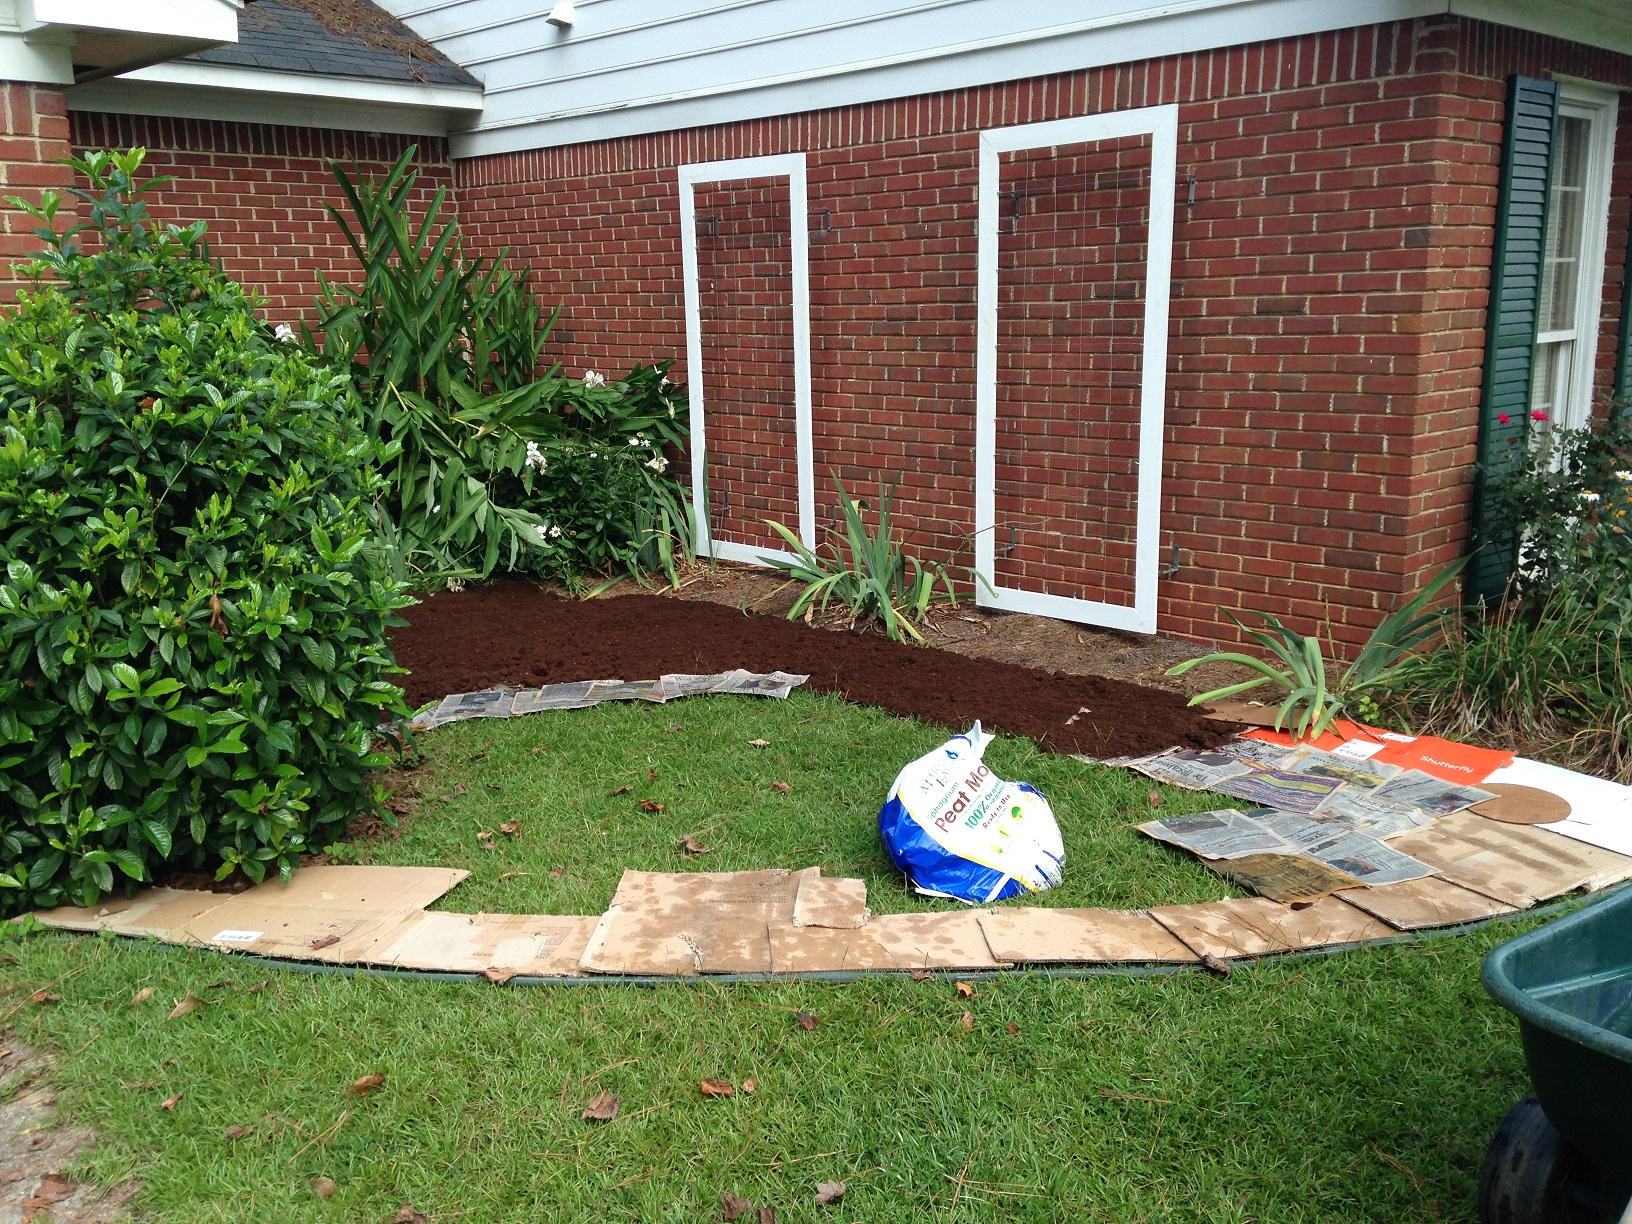 peat moss is environmentally unfriendly, non-sustainable, and now, I’d recommend mulch instead. Sometimes, peat moss can turn into a wet, mushy bog, but not to worry, my bed is fine! I topped the peat with wheat hay, covered the entire concoction with a tarp and left it for several weeks. From time to time, I’d uncover the space, add another layer and wet it with the hose. I used manure, mushroom compost, more hay,
 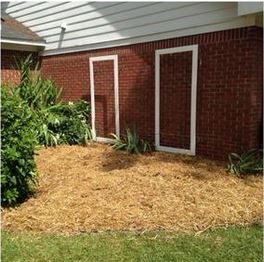 grass clippings, and hardwood leaves.
When spring came, I started adding items to my new bed. I decided to experiment with espalier, training a shrub to grow flat against a wall using my trellises. I selected Camellia Sasanqua “October Magic” because I needed something evergreen and loved the idea of having blooms in the fall. I also added three dwarf lorepetulums. Existing plants included a hydrangea, a gardenia, irises and day lilies. Instead of a fountain, I installed a bird bath.
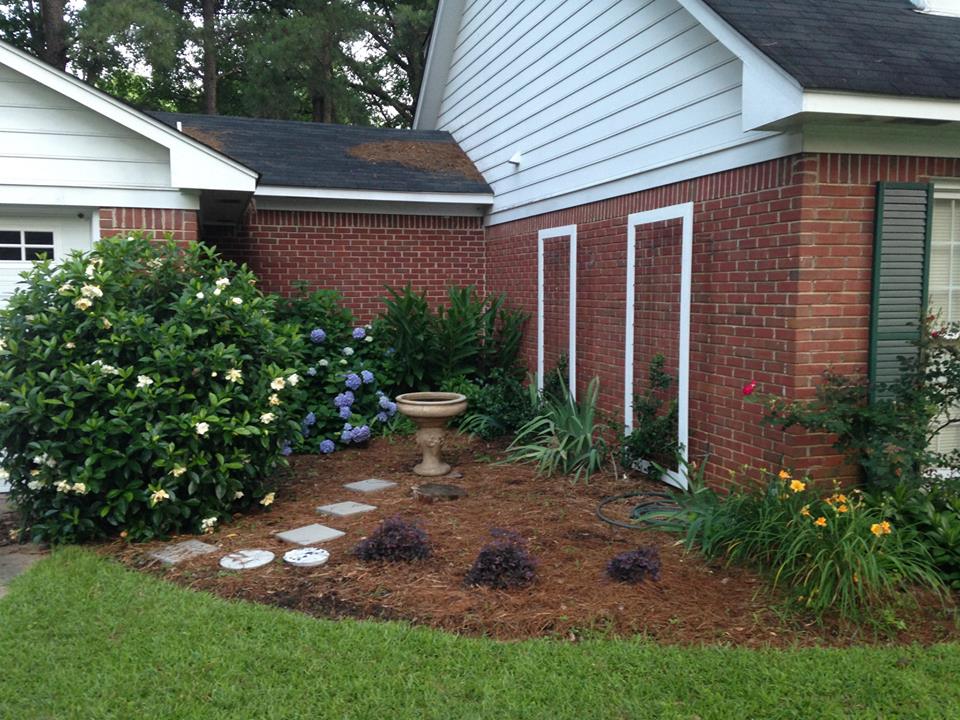
I needed a way in and out so I put in pavers, but hope to replace those with personalized, stepping stones, mementos of my family. It’s still a work in progress but that is the beauty of gardening isn’t it?
In case you are wondering what soil looks like that has been “lasagnafied”, I’ve included a picture here.
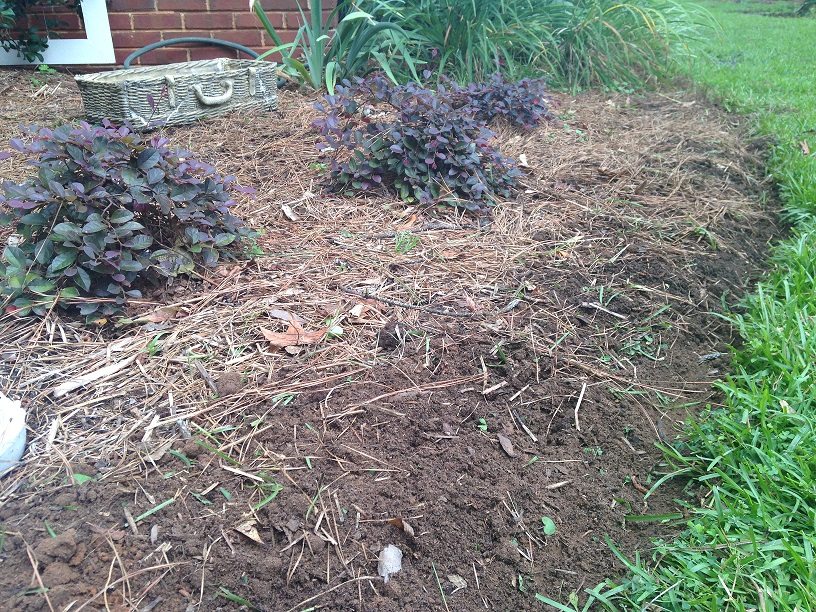
“lasagnafied”
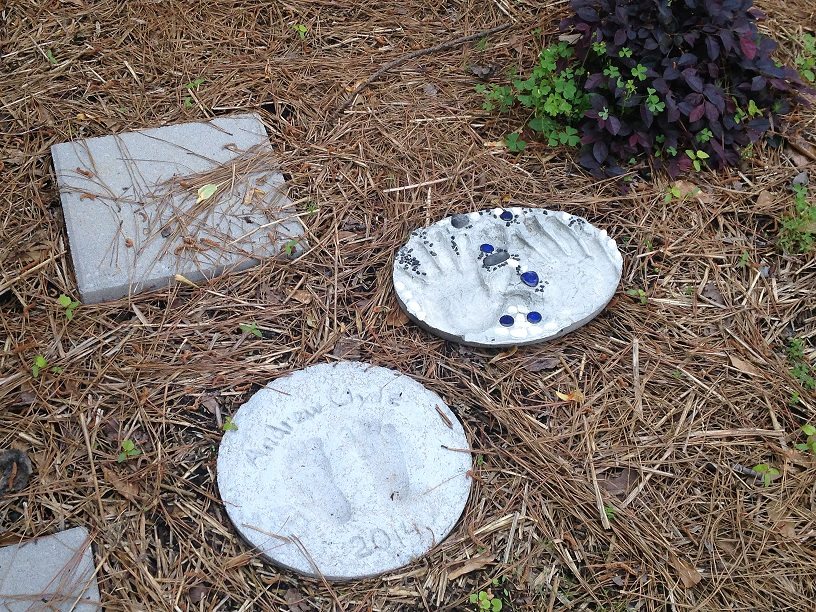
stones
Any questions or comments? Leave a reply!

